


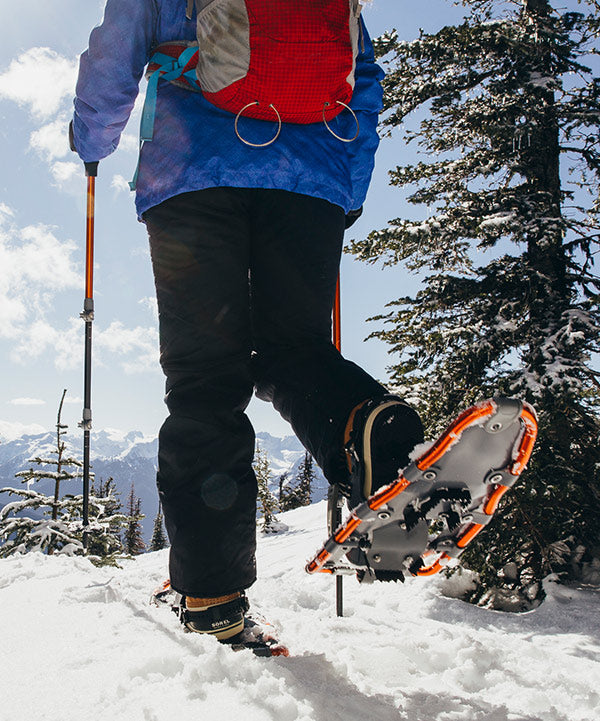
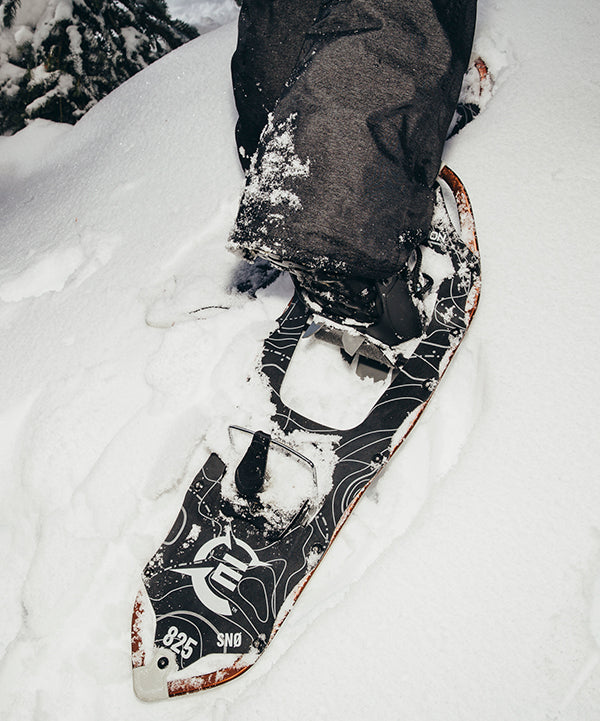


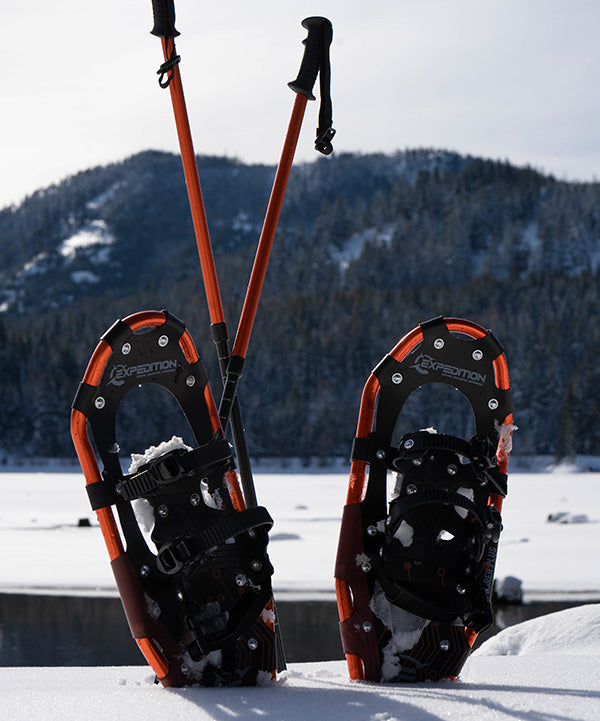
How To Change Your Snowshoe Bindings
Dual Ratchet Bindings:
Removing old binding:
- Step One: Turn the snowshoe over and remove the screws under the bindings. There should be four screws with four bolts. Use a wrench to loosen the bolt or an allen wrench on the other side to keep the screw steady.
- Once you have removed the screws you can begin to remove the padding and metal section from the snowshoe and set it aside. You will need these pieces for the new bindings
Adding New Bindings:
- Take the new bindings and place the binding on top of the snowshoe, make sure the heel strap is on the bottom of the snowshoe and the two holes are inline with the two holes on the strap.
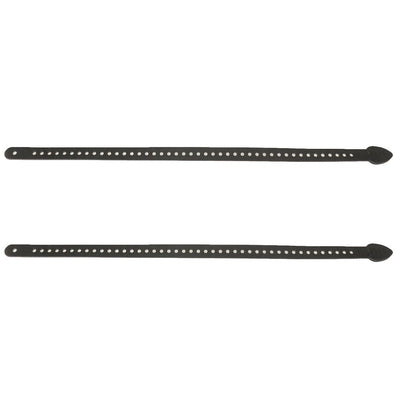
- Underneath the snowshoe, place the metal plate inline with the top two holes and the leather pad underneath it.
- Screw the 4 screws and bolts into place.
- Tighten the screws with a wrench and an allen wrench and make sure they are secure.
Quick Set and Release Bindings:
Removing old binding:
- Turn the snowshoe onto its back and remove the three screws under the bindings. You can use a wrench and a screwdriver to get the screws out.
- Place the metal plate, leather pad, and plastic plate to the side (you will need these better).
Adding New Binding:
- Place the new bindings on top of the pole where the previous bindings were. Place the plastic plate on the top of the bindings and place the three screws through the aligned holes.
- Underneath the snowshoe, place the metal plate inline with the screws and the leather padding.
- Use the bolts to tighten the screws and secure the binding to the pole. You can use a wrench and a screwdriver