How to Get Started in Night Photography

Contributed by Kyle Ford
There is a particular fascination that develops when the sun goes down and the night sky comes out. Perhaps it comes from the unknown of the darkness or the fact that we generally sleep when the stars are shining at their peak. Taking photographs at night is no easy task, but I hope to give you some tips and tricks to help you feel more confident when you set out to give it a shot.
Where and when to go:
If capturing the stars is your goal, shooting during a new moon and several hours after the sun has set will give you the darkest skies. There are a lot of apps and websites that can help you plan for the moon phase, such as a simple weather app, Google, or PhotoPills. I'm really fond of an app called Sky Guide for tracking where stars and constellations are in the sky.
It may take you a few hours, but getting as far away from large cities will be imperative for avoiding light pollution that would otherwise cast unwanted light in between you and the stars. Cooler nights tend to be clearer as well. Dark Site Finder is an excellent resource for finding the darkest skies near you.

Camera equipment and accessories:
You’ll want a camera lens that is both fast and wide, meaning that it goes down to an F-stop somewhere between f/2.8 or f/1.2 (ideally), and that it is able to capture a wide angle to bring more of the natural setting into the picture. The Canon 24mm f/1.4L and 35mm 1.4/L are my personal favorite lenses to use on my Canon camera for capturing the stars and milky way in all their glory. If you don’t have a lens that goes down to f/2.8, don’t let that keep you from trying to get a shot!
A stable tripod will be critical for keeping your camera still. If your camera moves at all during the exposure, your image will be blurry or create ghosting. I find that my travel tripod is too flexible at full height if there is any wind at all. Some tripods have a counterbalance hook where you can attach something substantial under the tripod to create a more stable base. Other things to consider are removing your strap and anything else connected to the camera that could catch in the breeze and cause camera shake.

Setting up your camera:
You’ll want to use a camera that offers a manual mode and ideally, a remote for the camera. If you don't have access to a remote, try using the self-timer that’s built into your camera. Even pressing the shutter button and removing your hand after the fact can cause too much camera shake for long exposures to be sharp. Most cameras only allow a 30-second exposure in manual mode, so if you want to go longer than 30 seconds, you should use a camera that allows for longer intervals, or consider picking up an intervalometer for your camera (some modern cameras have an intervalometer built-in). An intervalometer will allow you to capture several long exposures back to back, and can also hold open your shutter for a longer period of time than your camera would normally allow.
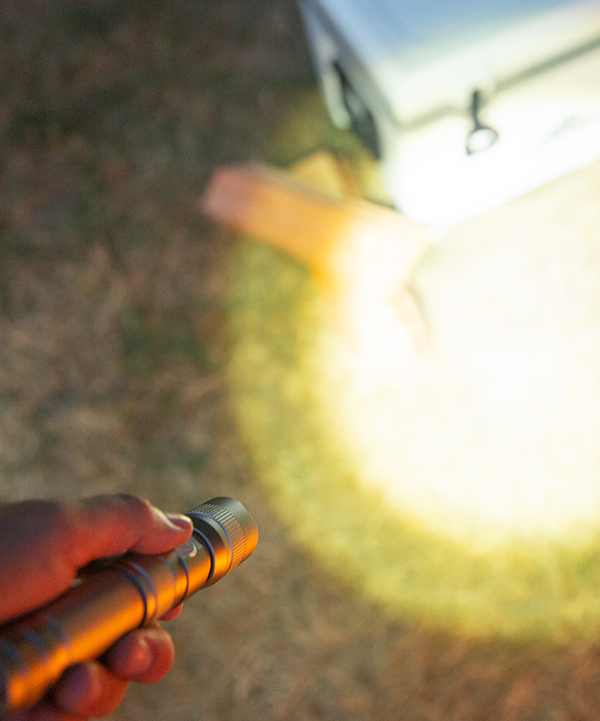
If your camera is capable of shooting in raw format (e.g. cr2 or dng file formats), that will better allow you to process the image once you are back at your computer. I usually shoot around 10-30 second exposures with my ISO from 2500-8000. Your ISO affects how grainy your photo will look, and while it’s best to try to use the lowest possible ISO, you will often need to bump up the number at night to compensate for the lack of light. I try to use live view (looking at the screen on the back as opposed to through the viewfinder) and a flashlight to find focus on my subject when possible. Otherwise, you'll have to use trial and error when it comes to focusing, which isn’t always easy at night. I find it helpful to crank my settings way beyond what they might be for the image I intend to capture simply to get my focus dialed in and then set the settings on the camera back to how I originally had them to capture the picture.

Determining how long to expose your shot (The 500 Rule):
The 500 Rule is a great guide to help keep the stars from streaking in your image. This streaking is caused by the Earth's rotation. The 500 rule is a bit complicated if you’re not keen on math, but it boils down to this simple equation: 500 / lens focal length (mm) for full-frame sensors = your maximum shutter speed length in seconds to avoid star trails. For example, if using a 24mm lens, you would not want to keep your shutter open for longer than 21 seconds (500 / 24mm = 20.83 seconds).
You can use this rule inversely as well if you WANT to capture motion in your photographs. Note that the further away the star is in the sky from Polaris (the north star), the more it will move in the sky. This is because everything appears to rotate around Polaris due to Earth's axis pointing almost directly at the star.
Post-processing:
I prefer to use Adobe Lightroom or Capture One for the processing of my images, both of which have pros and cons. Both programs can reduce the noise of your images while retaining most of the detail and smaller stars that your camera picked up from the night sky. There are a lot of great online tutorials for processing your night images and plenty of differing opinions on what works best and what creates a natural or more surreal look – I recommend spending some time on youtube, trying several methods and determining what works best for you.
Most of all, have fun and experiment!







Leave a comment