


How to use trekking poles

Trekking poles are simple to use and provide a load of support for both hikers, walkers and backpackers of all ages. Whether you're crossing flat surfaces or probing uncertain terrain, trekking poles can provide stability and relieve pressure from your body, but they can also help to establish and maintain a consistent rhythm and increase speed.
If you're anything like our team members at Cascade Mountain Tech, you're probably aiming to continue hiking well into your old age. Trekking poles can help to reduce impact over time and prolong your body's capabilities. For first time users, trekking poles may not be as intuitive as one might hope. Check out our video and helpful guide below to get you started off on the right foot!
Trekking Pole Length
All of Cascade Mountain Tech's trekking poles are height adjustable. Before you begin your journey, make sure to extend or shorten your poles to the proper height. While holding the grip of your pole, your arm should bend at a 90-degree angle while the tip is on the ground and your elbow is at your side.
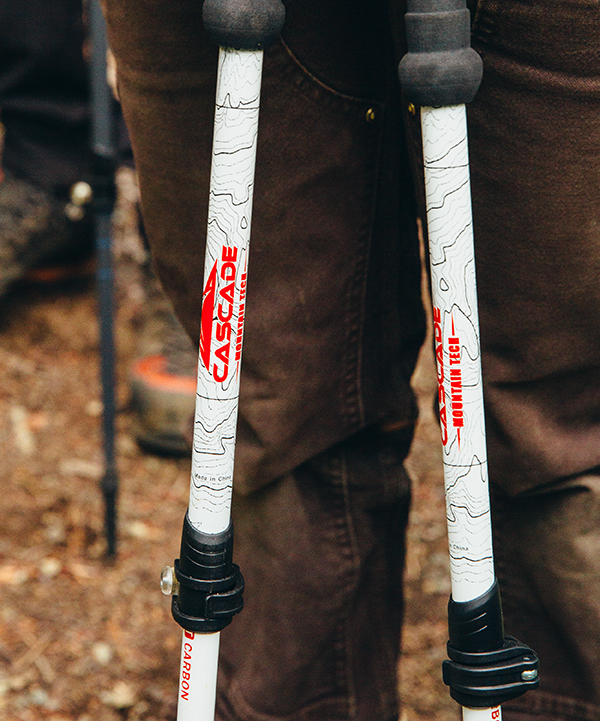
Use the inch or centimeter markers on your poles to help remember where you find the most comfortable height position.
Using our quick lock poles you will see inch and centimeter markings on the bottom and middle section of each pole. If the middle section is fully extended to the 52 inch mark and the top section is fully extended to the 52 inch mark the entire pole height is 52 inches.
Using our folding poles you can extend the top section the the 54 inch mark. The pole is now 54 inches in length.
When hiking uphill, shortening each pole by 5-10cm will provide more leverage and help your ascent. When traversing downhill, lengthening the pole 5-10cm will provide the ideal support to slow your descent and help save your knees, ankles and legs over the long run. Overall, you should always adjust to what feels best to you for your support needs.
Securing Your Pole Locks
Whether you're using our Quick-Lock or Twist-Lock trekking poles, make sure that your locks are firmly secured before using your poles. While the tip is on the ground, test to ensure the lock is secure by pushing on the top of the handle so the tip presses into the ground. If your pole shortens while doing this then you need to readjust the height and tighten the lock more.

Swing Cadence
There's no one right way to hike with trekking poles, though most will argue that trekking asymmetrically does the most to help propel you forward on steep ground (left pole comes forward as the right foot comes forward, and vice versa). While some hikers prefer this standard method, others find it more comfortable to swing both arms at the same time. We find that swinging your poles the same way you would swing your arms without poles is the best bet for each user.
Pole Positioning
When hiking uphill, position your poles at roughly a 70-degree angle (in the direction that you're heading), rather than straight up and down, helping to propel you forward. When hiking back downhill, you can place your hands on top of the grips and reverse the angle, using the poles to provide better stability and relieve pressure on your legs. Try spreading your arms further apart during descents for even greater stability.

Handle Grips & Wrist Straps
Each trekking pole grip is fitted with our padded adjustable wrist straps, which are easy to adjust to fit large and small hands alike. Our poles are meant to be held like ski poles – to correctly grasp the grip, reach through the wrist strap from underneath the strap and grasp the handle. The strap should be positioned in between your thumb and index finger when grasping the pole, and should catch on your wrist when the pole is dropped. Correctly using the wrist straps allows you to use poles without using a death grip all throughout your hike, and will also prevent you from dislocating or breaking your thumb if you were to fall while holding your poles.
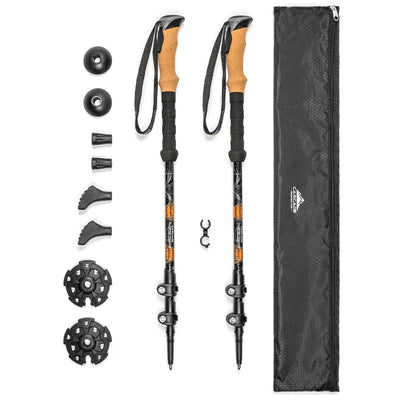
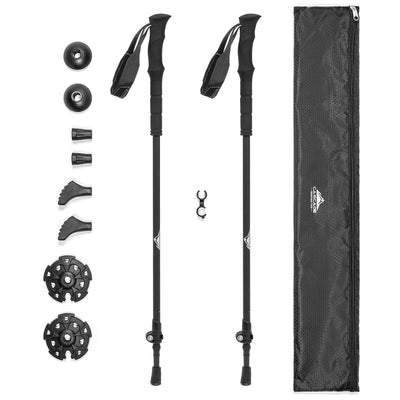
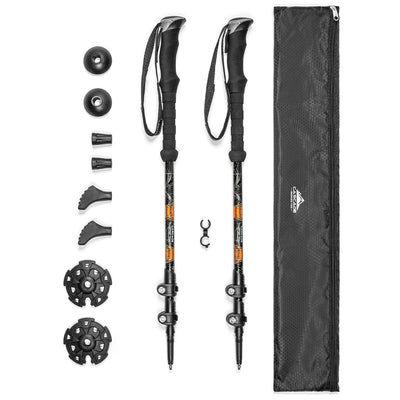
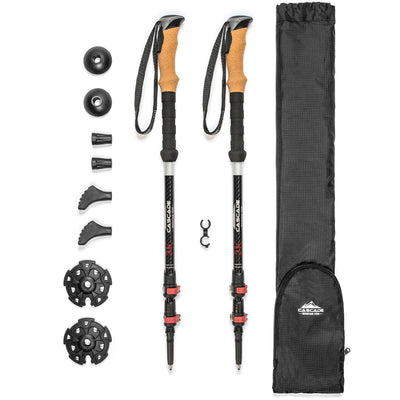
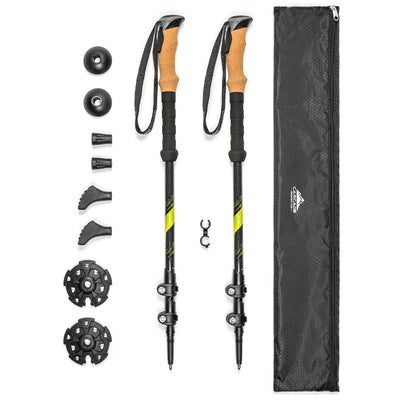
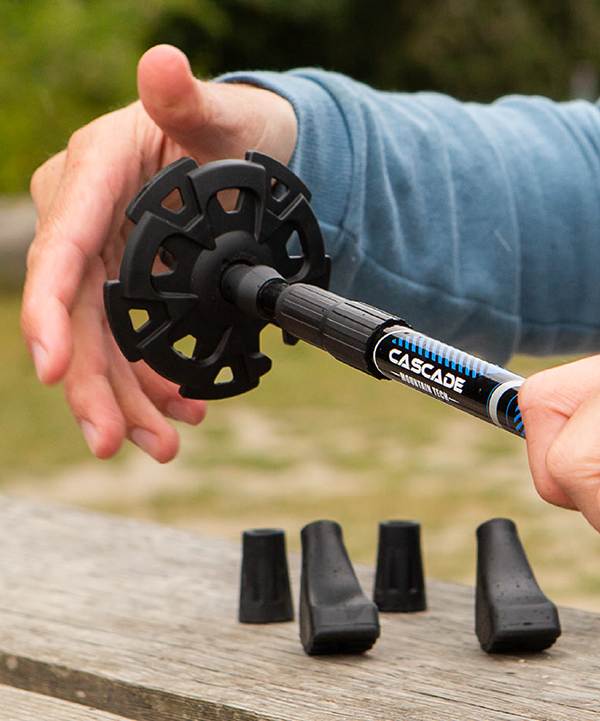
Tip Accessories
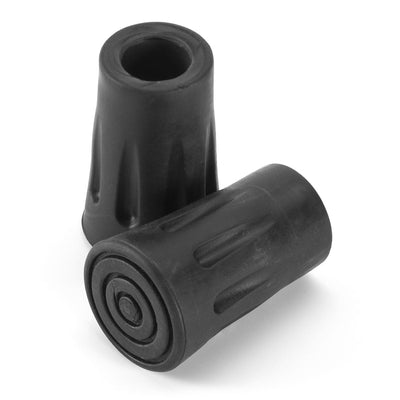
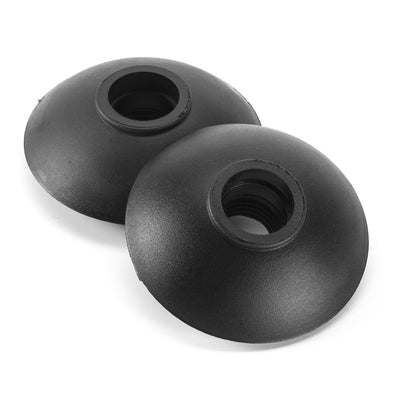
Each Cascade Mountain Tech trekking pole is built with a tungsten carbide tip, meant to provide optimal grip on a variety of surfaces, including rocks, dirt or ice. Our included accessories are meant to be used on varying surfaces. Screw on the mud baskets when hiking through sand or mud. Try the snow baskets when traveling through loose or compact snow (NOTE: our poles are not meant for alpine or nordic skiing). Our rubber boots are great for crossing large boulders, for extended downhill treks, or for added stability on level ground. The round rubber boots, which are attached to each pole in packaging, are helpful to protect interior floors or to use when hiking through places like Machu Pichu that aim to preserve the quality of its trails.

Head to our trekking pole collection page to view our entire offering of poles and to find product videos on each type. For even more support, check out our video page for helpful info on adjusting your wrist straps and on our various trekking pole accessories. See you on the trail!


Where do you explain the markings and numbers on the poles?
Leave a comment